Are you a new dog parent and tired of taking your pet to the veterinarian to trim the nails? Are you looking to get rid of this problem?
If the answer is yes, then the following article is dedicated to all dog owners. The article is a comprehensive guide on how to trim dog nails that are overgrown.
Let’s jump right into it!
Table of Contents
Why Is It Essential to Trim Overgrown Nails?
Dogs require the same maintenance as people. You need to wash their teeth, groom, bath, and give them a proper a haircut. One of the most important aspects is trimming their nails every couple of weeks. This practice helps keep your house intact and keeps it safe from scratches caused by sharp claws. Overgrown nails will make your dog uncomfortable.
You might think, what’s the big deal? Just cut them and be done with it.
However, there are many reasons why you need to do this regularly:
- Dogs’ nails grow faster than humans’.
- If you don’t maintain your dog’s nails, it might cause them to scratch the floor of your home and hurt themselves while running around or playing with other dogs.
- Also, if they are too long, they could break when walking on hard surfaces like concrete. That is why it is better for their health to keep them well-maintained.
- Long nails can curl up and grow into the paw pad, causing pain to your puppy.
Tools You Need to Get to Trim Your Dogs Nails
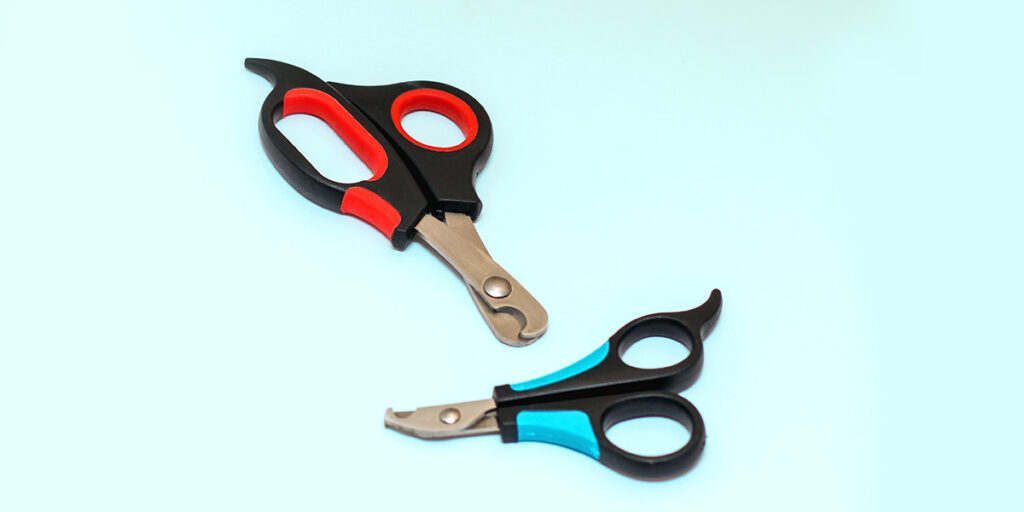
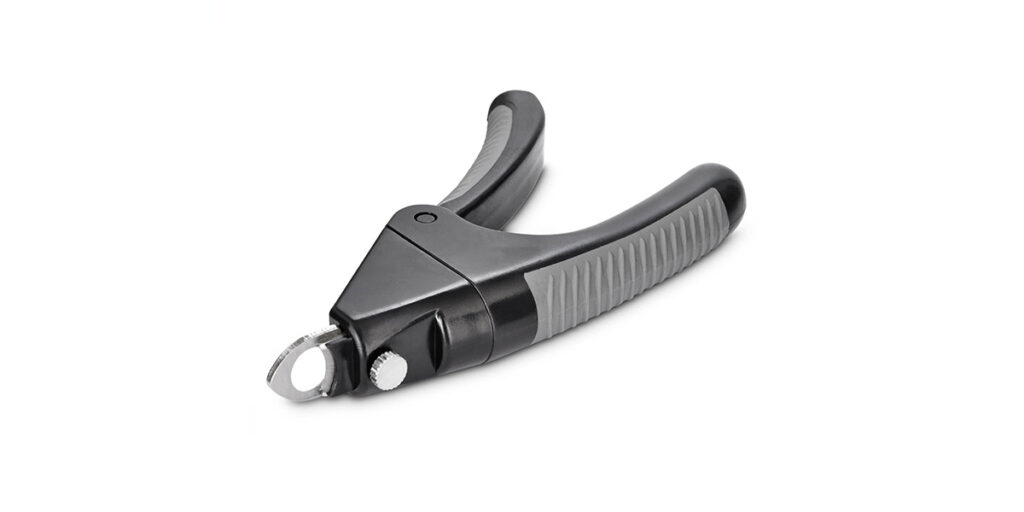
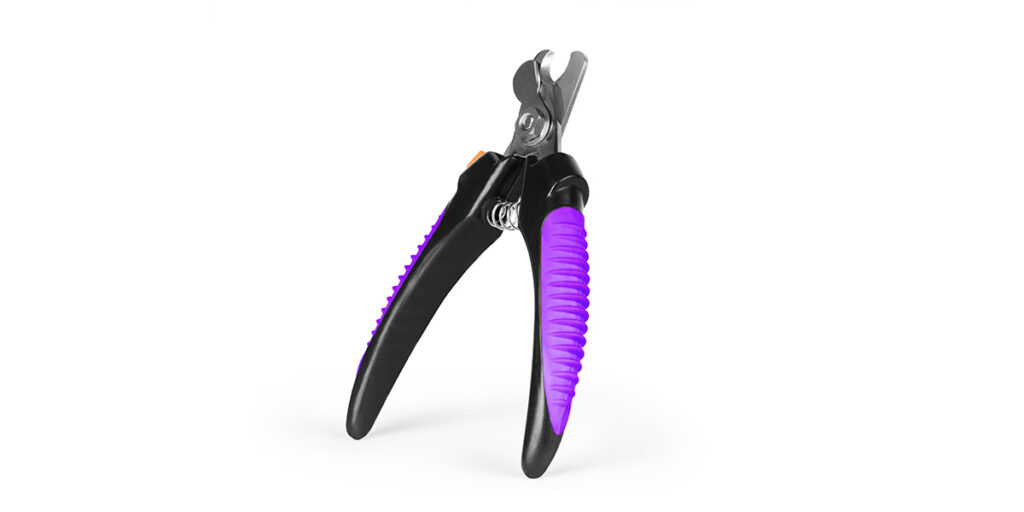
#1 – Nail Clippers
The nail clippers come in different varieties and styles to use the blade to cut the nails’ tip. The most common types of clippers are the scissor-type, guillotine, and plier.
- Scissor-type Clippers
Look like a scissor with blades joined at one end. They are usually made of stainless steel and have a curved blade on both sides, which makes it easy to cut through the nail without making any mistakes.
- Guillotine Clippers
These types of trimmers work by placing your dog’s nail in the opening and squeezing both handles. The blade inside will cut off a small part of your dog’s nail when it is pressed down into the handle.
- Plier-type Clippers
These nail clippers are usually made from stainless steel and look like a set of pliers, with one handle much thicker than the other. They have sharp blades that cut through your dog’s nails when you squeeze both handles together.
Their main advantage is adjusting how much you want to trim by tightening or loosening the screws placed at the end of the handle.
You can get any type of nail clippers for your dog from a vet or pet store nearby, and it will cost you around $20-$30.
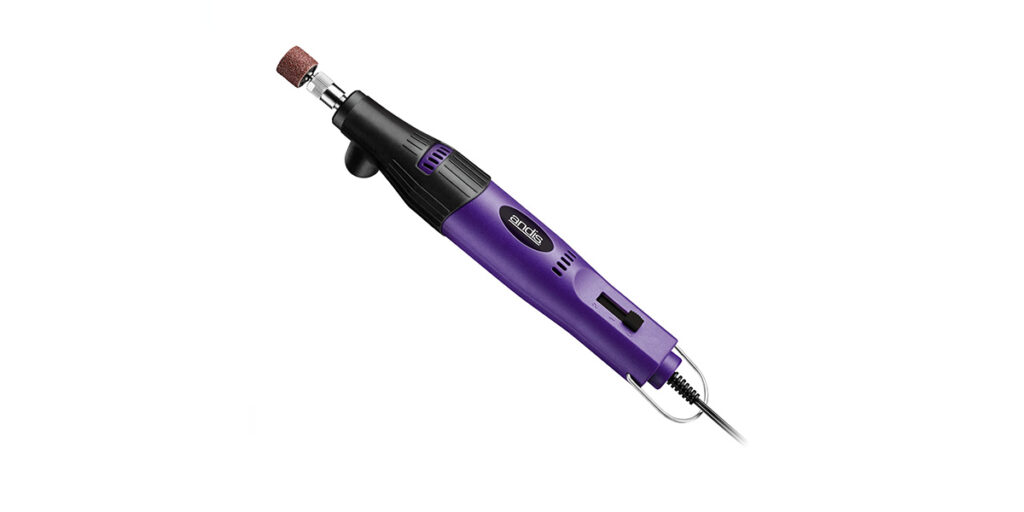
#2 – Grinders
As the name recommends, the grinder is used for grinding down the dogs’ nails. It is a tool that rotates and has some sandpaper-type material inside, which helps in grinding the nails using friction.
Most grinders are cordless and lightweight, making them easy to use at all angles. In addition, they have a safety guard that prevents the nail from being over-trimmed or causing any injury to your dog’s sensitive footpad.
#3 – Styptic Powder
This powder can be applied to the dogs’ nails if you accidentally cut them too short. It will help in stopping bleeding immediately by contracting blood vessels and coagulating your dog’s blood.
When buying styptic powder, make sure to get one specifically made for pets because it does not have any harmful chemicals like those found in human ones.
Simple Steps to Trim Your Dogs Nails in Less Than Twenty Minutes
#1 – Make Your Dog Comfortable
The dogs that are not comfortable with the grooming routine might fear when it comes to nail clipping. Therefore, the essential step is to make them comfortable with all the trimming materials.
Let them investigate the materials freely. Do not forget to choose a comfortable place for the process. For example, you can make them sit on their bed or the carpet.
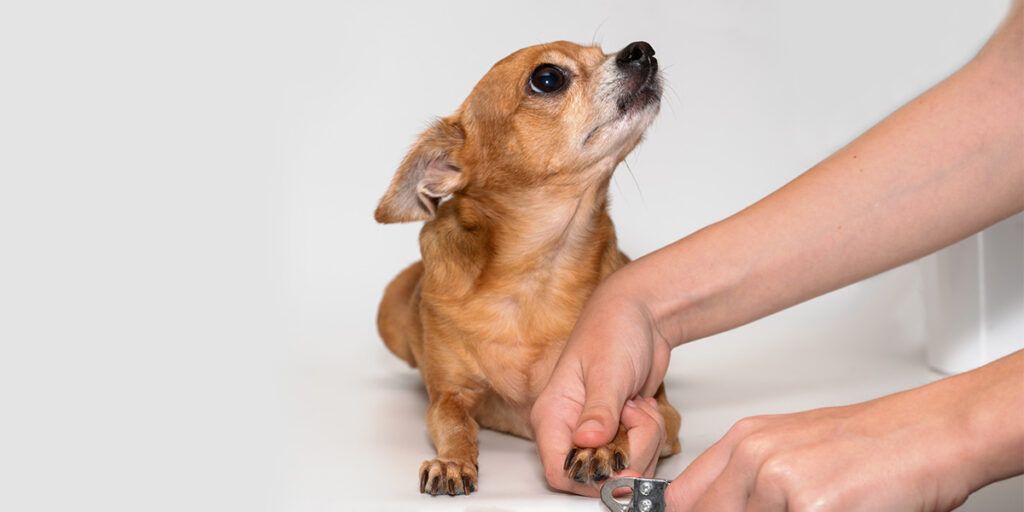
#2 – Position Your Dog for Trimming
Before trimming its nails, make sure your pet is sitting comfortably on the floor. If the pup moves around too much or you are not comfortable with this position, ask them to lie down instead.
Their two front paws need to be placed in front of their body for easier access and control over their feet while clipping.
You can also use a grooming table, but it is better to have someone hold them at this stage.
As well as holding their paws in place with one hand, you will need the other free for clipping and filing. You should always do these activities away from your pet’s ear level as they get scared easily by loud noises.
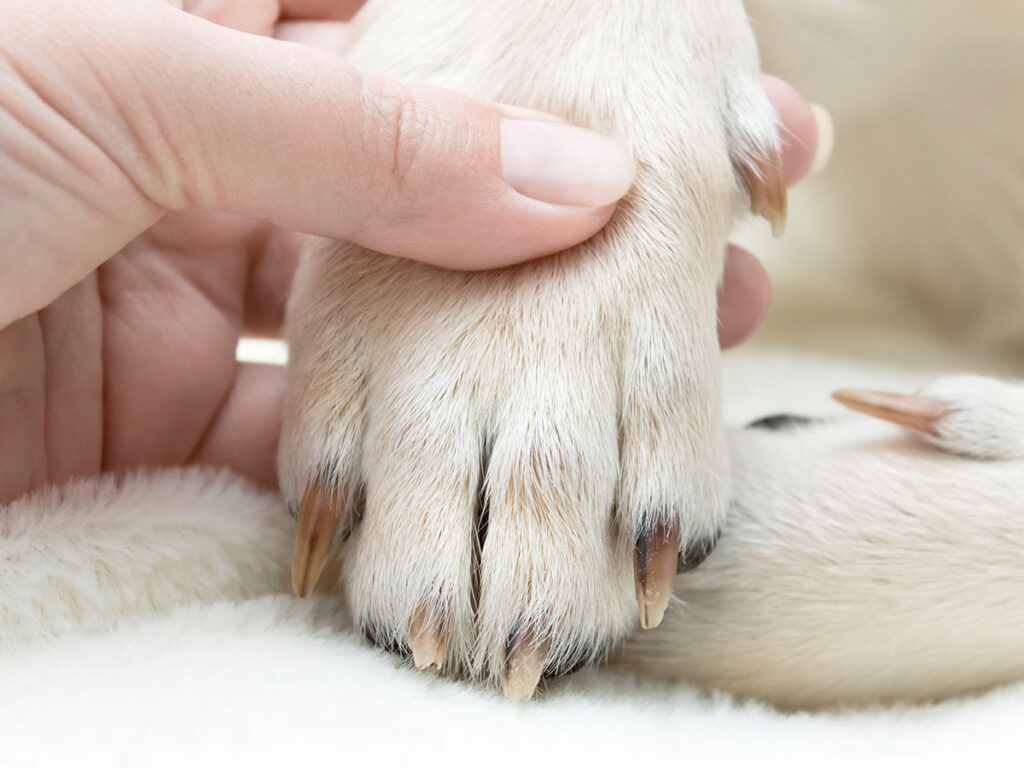
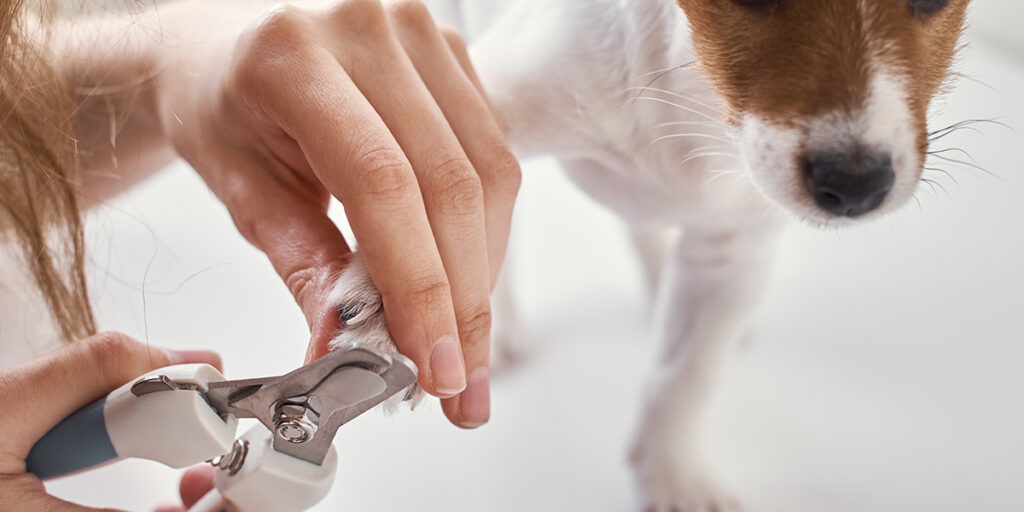
#3 – Find the Quick
The quick is the pink area inside your dog’s nails where it gets its blood supply. According to breeds, they can be found in different sizes and shapes, so you need to get familiar with them before trimming their nails at home.
For light-color nails, finding quick might be easier. However, you need to spend a good amount of time for darker nails to locate the quick.
To not overcut, you need to spot it accurately first. You can cut it in small portions if you are not able to find it. Try isolating the nail for safer trimming.
#4 – Use the 45-Degree Angle Rule
It would help if you placed any trimmer or clipper you use at the right angle in a 45-degree. This way, you will avoid unnecessary cuts and cut their nails both safely and easily.
#5 – Look for the Black Dot
Once you spot the small back dot while trimming or grinding the nails, stop there. Your dogs’ safety should be your utmost priority, which is the best way to prevent them from bleeding.
#6 – Patiently Repeat the Process
Once you and your dog are comfortable with the process, repeat it till you cut all the overgrown nails. You do not have to rush the process. If it is your first time cutting your dogs’ nails, it will be time-taking, and it is okay. Take your time, set the pace, and keep going.
#7 – Use a Filing Tool
After trimming the nails, use a filing tool to smoothen them. This will also help in preventing any sharp edges from scratching you or your dog. If their nails are not too long, then there is no need for this step, as using clippers would be sufficient to round up the tips of their nail.
If you have any questions about the process, contact your vet or a professional groomer. You can also watch a few videos to get familiar with the process before doing it yourself at home.
How Often Should I Trim My Dog’s Nails?
According to the experts ASPCA, a dog needs a nail trim when their toenails “just about touch the ground they walk.”
However, the frequency of nail clipping varies from breed to breed and also on their lifestyle habits. For example, if you have an active or outdoor dog that frequently uses its paws, they will require more frequent trimmings than sedentary indoor dogs.
Do Puppies Need Nail Trim More Often?
Because puppies’ nails are growing at a faster rate, they require more frequent nail trimmings than adults. It also teaches your puppy to accept being handled while trimming their toenails every week.
Extra Tips for Cutting Your Dogs Nails
- Involve your dog in some activity to tire them out.
- Touch their paws frequently to make them feel that you are not going to harm them.
- Keep the chopping materials in front of them beforehand to accustom them.
- Create a schedule for trimming the nails.
- Please treat them with something after successfully trimming each nail.
- Trim just a little bit at first.
- Use treats as an incentive to keep them in place and relaxed during the process.
- Please do not cut too close to their quick, especially on black nails.
Conclusion
With this, you are now ready to clip your pup’s nails at home. Remember that the process might be time-consuming and challenging for both of you if it is your first time doing it.
With a little patience and practice, however, trimming dog nails will become an easy task in no time! If you need any help, make sure to contact the professional!